


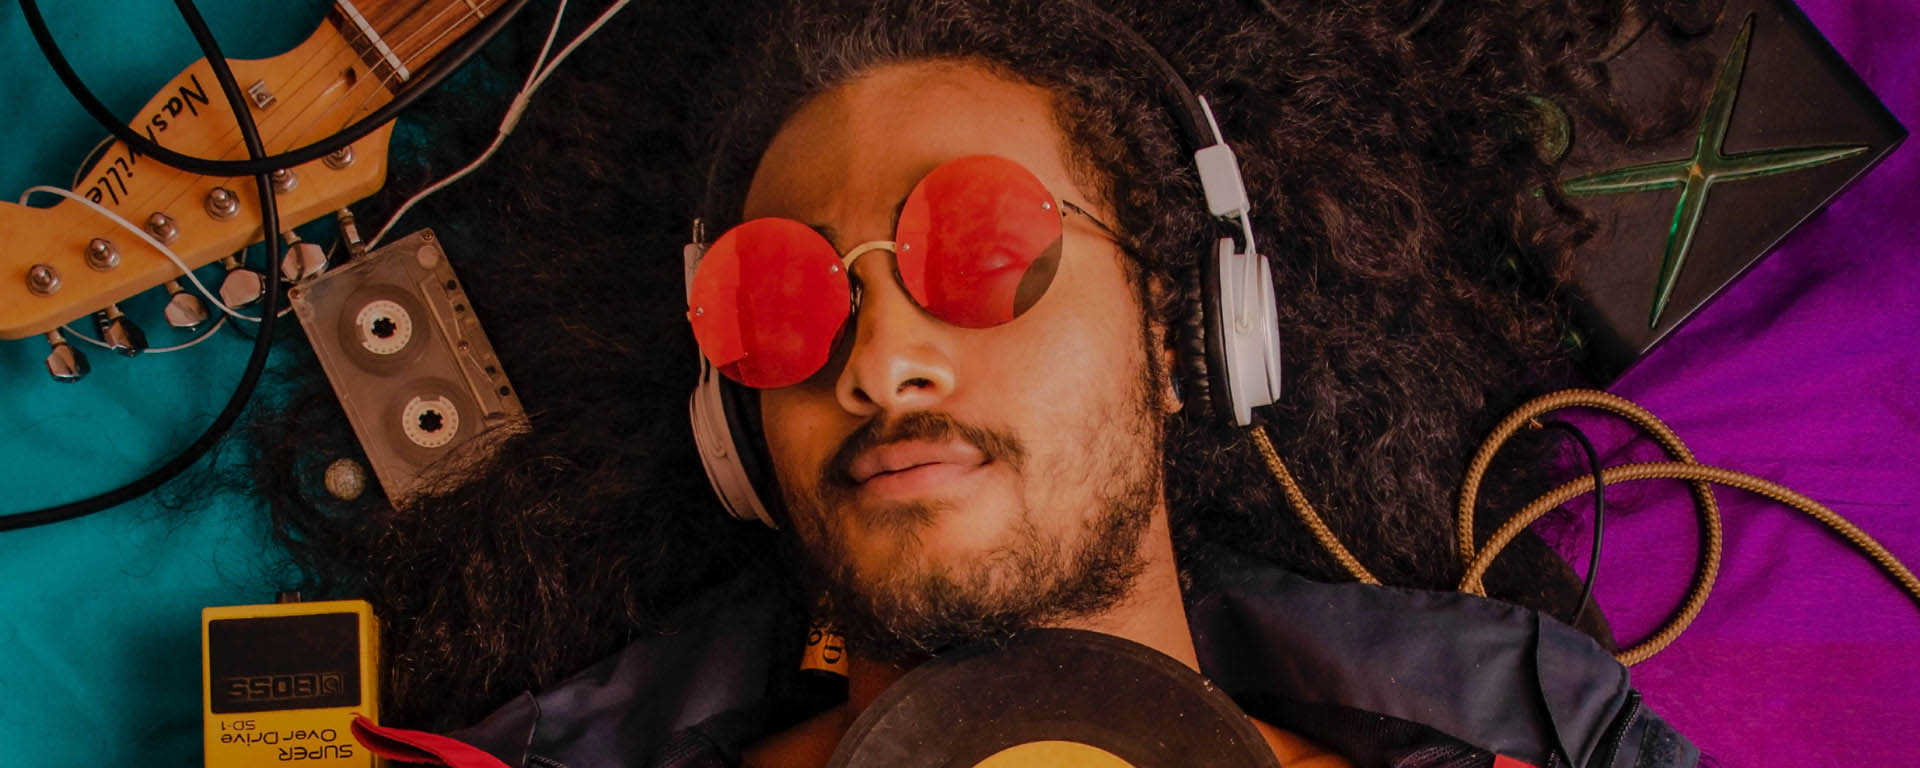
For independent artists, a powerful live performance is as much about sound as it is about songs. Even a brilliant set can fall flat if vocals are buried, guitars are screeching, or the band can not hear itself. This guide is a detailed, practical handbook for musicians who want to take control of their live sound when playing small clubs, bars, houses of worship, cafes, and DIY spaces.
Why live sound matters
Good live sound creates emotional connection, helps your performance feel professional, and increases the chance that audiences will remember and recommend you. Conversely, poor sound distracts listeners, undermines dynamics, and can make even excellent songs seem lifeless.
Core roles and terminology
- Front of house or FOH refers to the main mix sent to the audience. The FOH engineer balances levels, EQ, reverb, and dynamics for the room.
- Monitor mix is for the performers. It can be wedge monitors, floor wedges, or in ear monitors commonly called IEMs.
- Gain structure means setting input levels correctly so signals are clean, not distorted, and with enough headroom.
- DI box converts instrument signals like electric bass and acoustic guitars to balanced lines for long cable runs.
- Signal flow follows the path from microphone or instrument to the mixing desk, out to amps, monitors, and the audience.
Before you arrive: planning and preparation
Preparation avoids chaos. Treat sound as a core part of your show plan.
Essential pre-gig items
- Clear stage plot and input list with instrument channel assignments and mic types
- Good quality instrument and microphone cables, labelled
- DI boxes and adapters for keyboards, acoustic guitars, and bass
- Spare strings, picks, batteries for wireless systems, and a small toolkit
- Personal monitor plan for each member including preferences for volume and instrument balance
How to write a stage plot and input list
Simple is best. Include band member positions, instrument mic or DI assignments, and which channels are required. A typical four piece stage plot might look like this:
- Vocal 1: dynamic vocal mic, channel 1
- Guitar amp: mic on amp, DI optional, channel 2
- Bass: DI and amp mic if possible, channel 3
- Drums: kick mic, snare mic, overheads, channels 4 5 6
- Keys: DI, channel 7
Intro to PA basics and signal flow
Understanding signal flow makes it easier to diagnose problems and communicate with engineers.
- Source: microphone, DI, instrument preamp.
- Input stage: microphone preamp and gain at the mixing console.
- Channel processing: EQ, high pass filters, compression, aux sends for monitors and effects.
- Mix buses: master mix for FOH and separate monitor mixes for performers.
- Amplification: powered loudspeakers or amplifiers driving passive speakers.
- Output: audience PA and stage monitors or IEM transmitters.
Microphone selection and placement
Mic choice and placement are among the most impactful live sound decisions. Below are practical recommendations for common instruments.
Vocals
For live shows, dynamic vocal mics are the reliable workhorse. They reject stage bleed better than condenser mics and can handle high SPLs.
- Positioning: keep the mic about 2 to 6 inches from the mouth and slightly off-axis to minimize plosives and proximity boominess.
- Handling hiss: use a pop shield for sensitive vocals or use mic technique to avoid plosives.
- Wireless systems: always have fresh batteries and a wired backup mic in case of interference or battery failure.
Electric guitar amps
Close mic’ing an amp is standard.
- Use a dynamic mic close to the speaker cone but slightly off-center for a balanced tone.
- Moving the mic toward the center gives brighter sound, toward the edge gives darker sound.
- For a fuller sound consider a blended DI or a second mic if the console allows.
Bass
Bass needs a clean, focused low end.
- DI first: many engineers prefer the direct signal to capture attack and body.
- Mic the cabinet if you want warmth from the speaker and blend with the DI for presence.
Drums
For small stages, a minimalist drum mic kit often works best.
- Kick: purpose built kick mic close to the hole or beater
- Snare: dynamic mic on top and possibly a mic underneath to capture snare wire
- Overheads: a stereo pair to capture cymbals and kit ambient sound
- Less is more: avoid too many close mics to reduce phase and bleed issues
Keyboards and electronic instruments
Keys and synths should go DI when possible to avoid amp noise and ensure a clean signal.
Gain structure and headroom
Proper gain staging prevents distortion and maximizes signal quality.
- Set preamp gain so that average performance peaks near 0 to -6 dBFS on console meters, avoiding constant clipping.
- Use the console's pad if the input is consistently overloading.
- Adjust channel trim first, then fader. Faders are for mix balance, gains are for signal health.
EQ basics and feedback control
Equalization sculpts sound and eliminates problematic frequencies that cause feedback.
- High pass filter: apply to vocal and non-bass channels to remove unnecessary low rumble and stage noise.
- Notch eq: use narrow cuts to tame feedback-prone frequencies if feedback occurs.
- Less is more: avoid heavy EQ boosts; gentle cuts often yield better clarity.
How to manage feedback
- Identify the feedback frequency by sweeping a parametric EQ and reducing the peak until feedback subsides.
- Reduce stage monitor volume rather than making FOH louder when the source of feedback is a monitor.
- Change microphone position and angle to reduce direct coupling with monitors.
Monitor mixes: wedges vs IEMs
Musicians hear themselves best when they get a personalized monitor mix.
Wedge monitors
- Pros: simple, no ear isolation needed, easy to set up
- Cons: stage volume increases, risk of feedback, less clarity in noisy venues
In ear monitors
- Pros: lower stage volume, better clarity, hearing protection
- Cons: require monitor engineer knowledge, potential wireless interference, initial cost
Communicating with the sound engineer
Good communication beats perfect equipment. Be polite, specific, and quick.
- Before soundcheck explain tones and monitor needs per band member.
- Use the input list and stage plot to save setup time.
- Ask for one issue at a time; multiple simultaneous requests make mixing harder.
- Bring realistic expectations about vocal and instrument audibility in very small or very noisy rooms.
Step by step soundcheck workflow
Here is a sample efficient soundcheck sequence for bands of 3 to 6 pieces. Adjust times to venue rules.
- Stage setup and cable check. All instruments plugged in and tuned.
- Engineer sets preliminary gain structure with all channels muted.
- Check kick and snare levels, then overheads for drum balance.
- Check bass DI level and amp if mic'ed.
- Check guitar amp and vocal mic levels.
- Quick full band pass at low volume to confirm balance.
- Monitors: start with vocals and then add instruments per musician requests.
- Final quick run of the first song or chorus to test parity between soundcheck and performance conditions.
Sample 30 minute soundcheck schedule
- 0 to 5 minutes: Setup and quick line check
- 5 to 12 minutes: Kick, snare, bass levels
- 12 to 18 minutes: Guitars and keys
- 18 to 25 minutes: Vocals and monitor mixes
- 25 to 30 minutes: Run through chorus or first song, final tweaks
Troubleshooting common problems
Problem: Excessive stage volume
Solution: Turn down wedges, use IEMs, and balance the FOH louder if needed so performers can play softer.
Problem: Vocal is masked by guitar
Solution: Check vocal gain and EQ; consider gentle cut around 2 to 4 kHz on guitar or reduce guitar level in the vocal frequency range rather than boosting the vocal too much.
Problem: Hum or buzz
Solution: Check ground loops, unplug and replug DI boxes one at a time, ensure balanced cables in long runs, and test with different power outlets or a ground lift on DI if safe to do so.
Problem: Wireless dropouts
Solution: Scan spectrum ahead of time, change frequencies, reduce distance from receiver, and have wired backup ready.
Problem: Mics squealing or unstable feedback
Solution: Reduce monitor level, reposition mic, apply a narrow cut to the feedback frequency, or use a feedback suppressor as a last resort.
Mixing tips for clarity and impact
- Define the vocal early in the mix. Vocals should sit above the band unless your genre demands different treatment.
- Use small amounts of compression on vocals to control peaks and help them cut through.
- Make space: use EQ to carve instruments so they occupy complementary frequency ranges.
- Keep reverb tasteful. Too much reverb muddies vocals in small rooms.
- Automate levels for dynamic songs when the console or software supports it, raising vocal presence in verses and backing off in choruses to keep energy natural.
Adapting to venue acoustics
Every venue has its character. Listen first and mix second.
- Reverberant rooms: reduce reverb on effects and favor drier mixes, tighten low end to avoid boominess.
- Dead rooms: rely on natural instrument sustain and add small amounts of reverb for space.
- Small club with reflective surfaces: use directional microphones and moderate levels to minimize early reflections.
Stage hygiene, cable management and safety
- Label both ends of all cables with tape or pre printed labels.
- Run power and audio cables separately where possible to avoid hum.
- Secure cables with gaffer tape to prevent trips and accidental unplugging.
- Keep liquids away from electronics and provide a towel for accidental spills.
Working with volunteer or in-house engineers
Many small venues rely on volunteers or an in-house engineer. Respect their time and expertise.
- Arrive early and be organized. A clear input list saves everyone time.
- Be specific and polite when requesting changes. Engineers often juggle multiple responsibilities.
- Offer to provide a short soundcheck plan or reference tracks so they know your preferred sound quickly.
After the gig: debrief and relationship building
Good relationships with venue staff and engineers make future gigs smoother.
- Thank the engineer and staff in person after the show.
- Send a short note with constructive feedback and praise for what worked.
- Log what changes improved the sound and what to do differently next time.
Useful checklists
Gig day checklist
- Stage plot and input list printed and digital copy shared
- All cables labeled and spare cables packed
- DI boxes, adapters, and power supplies checked
- Backup mic and spare instrument strings
- Setlist and monitor preferences visible to engineer
Quick soundcheck checklist
- Confirm gain staging and trim levels
- Set main FOH balance with drums, bass, and rhythm section
- Bring vocals into the mix and adjust as needed
- Configure monitor mixes and set comfortable levels
- Run a short performance piece to confirm settings under live conditions
Glossary of common terms
- Pad: an attenuation switch on a mic pre or DI to reduce input level when the source is too hot.
- Aux send: a channel send used to drive monitor mixes or effects.
- High pass filter: removes low frequency content below a chosen cutoff to reduce rumble.
- DI: direct injection or direct input that converts unbalanced, high impedance signals to balanced low impedance outputs.
Frequently asked questions
How much of my sound should I control versus the engineer?
Bring your preferences and priorities. Let the engineer control the technical setup and FOH, while you communicate musical goals like vocal prominence and essential monitor elements. Collaboration wins.
Should I always use an IEM system?
IEMs offer clarity and hearing protection but require proper setup and management. For bands who play frequently or have complex monitor needs, they are worth investing in. For casual or one-off gigs, wedges can be perfectly acceptable.
How can I get better at communicating with engineers?
Practice concise language: say which instrument is too loud or too soft, give a reference like louder by a third of the current level, and prioritize fixes. Avoid saying everything sounds wrong; instead point to the one thing that matters most.
Final notes and next steps
Great live sound is achievable for independent artists through preparation, clear communication, and thoughtful technique. Start by building a clean stage plot and input list, learning basic microphone placement, practicing a streamlined soundcheck routine, and building respectful relationships with venue engineers. Over time you will learn how small adjustments in gain, EQ, and monitor balance transform the audience experience.
Experiment during rehearsals with mic positions, monitor levels, and arrangements that reduce stage volume without sacrificing energy. Document what works and continue to iterate after every gig.
Want a printable one page cheat sheet? Convert the gig day checklist and the 30 minute soundcheck schedule into a single page you can hand to the engineer and tape to your amp. Preparation is the shortest path to sounding great on stage.
Authoritative resources to explore next: local audio engineering workshops, online courses on live sound fundamentals, and practice sessions with a willing engineer to build mutual trust and understanding.

